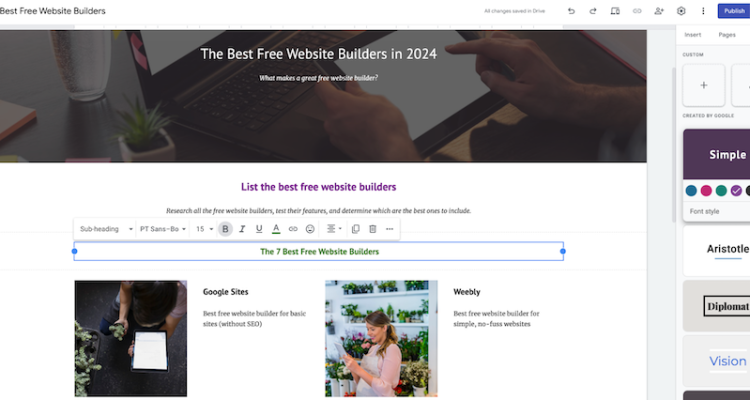
Building a website for free has never been easier, thanks to various platforms tailored to diverse needs. Here are three top contenders:Wix: Boasts an intuitive drag-and-drop editor with over 800 customizable templates, making it perfect for beginners.WordPress.com: Ideal for blogs or content-heavy websites, offering robust functionality for writers and publishers.
Weebly: An excellent choice for small business websites with simple and functional designs.
For this guide, we’ll focus on Wix, a standout choice for its user-friendly features and flexibility.
Step 1: Sign Up and Start Building on Wix
Begin by heading to Wix.com to create a free account. During the registration process, you’ll be asked questions about your website’s purpose and desired features. This information helps Wix recommend tools and settings tailored to your specific needs.
Wix offers two distinct methods for creating your site:
Wix Editor: Gives you full control over every design element, allowing advanced customization.
Wix ADI (Artificial Design Intelligence): Quickly builds your site based on the answers you provide to a few simple questions, perfect for those seeking a streamlined experience.
For beginners, Wix ADI is an excellent starting point, but if you want greater creative control, the Wix Editor is the way to go.
Step 2: Choose the Perfect Template
With over 800 templates to choose from, Wix makes it easy to find a design that matches your goals. Whether you’re building a blog, portfolio, or online store, there’s something for everyone.
The platform’s drag-and-drop editor allows you to modify your template effortlessly. Rearrange elements, add images, and tweak text to create a website that reflects your unique vision.
Step 3: Add and Customize Your Content
Once your template is set up, it’s time to populate your website with content. Focus on these essential pages:
Homepage: Clearly define your brand or purpose.
About Page: Share your story, mission, or key business details.
Contact Page: Provide ways for visitors to get in touch with you.
Using the intuitive Wix sidebar, you can drag and drop elements like text boxes, images, buttons, and more onto your pages. Don’t forget to save your changes frequently as you customize your content.
Step 4: Enhance Functionality with Wix Apps
Expand your website’s features using the Wix App Market, which offers free and premium tools. Popular options include:
Social media integrations
Live chat widgets
Booking and scheduling tools
Privacy policy generators
These apps can improve your website’s functionality and provide a better user experience.
Step 5: Publish Your Website
Once you’ve finalized your website’s design and content, click the Publish button to make it live. Your free site will use a Wix subdomain (e.g., username.wixsite.com/sitename). While Wix offers paid plans with additional features, the free plan is sufficient for basic websites.
Why Wix is the Go-To Choice for Beginners
Wix stands out for its ease of use and versatile features, making it a top pick for those new to website building. The free plan includes:
500 MB of storage
1 GB of bandwidth
Basic customer support
These features are perfect for personal projects or small websites. If your requirements grow, Wix makes upgrading to a premium plan simple and seamless.
Pro Tips to Optimize Your Free Website
To make your website more effective and appealing:
Improve Loading Speed: Use optimized images and minimize unnecessary content to ensure fast load times.
Enhance SEO: Add relevant keywords in titles, meta descriptions, and throughout your content to increase search engine visibility.
Ensure Mobile Responsiveness: Test your website on various devices to provide a seamless user experience.
Regularly Update Content: Fresh, relevant content keeps your audience engaged and improves your search engine ranking.